What I’m Baking: Sour Cherry Clafoutis

I love cherries. Sweet, juicy, delicious cherries! Up until a few years ago I wasn’t crazy about sour cherries. Mainly because I’d only had the unbelievably tart ones that are not even palatable unless covered in piles of sugar. Then one day I was picking saskatoon berries at my local U-pick and noticed that they had a sour cherry u-pick section. I grabbed a fat dark red cherry off of the bush and stuck it in my mouth, expecting to regret that decision. But to my surprise, it was a little tart, but also very sweet! I immediately decided I needed a sour cherry tree/bush for my own yard, and was happy to find that they sold young bushes at the u-pick, so I ended up taking one home that day.

My cherry harvests from that bush have been pretty minimal since I planted it – maybe a handful or two every season. Last year I decided I wanted another bush because I was a bit disappointed by the lack of harvests from the first bush, so I ended up planting its star-crossed lover on the opposite side of the yard (the varieties are Romeo and Juliet). But luckily this year I got the first decent harvest from the older bush (the newer one gave me a grand total of 3 cherries). And luckily I had picked all of the cherries 2 days before the giant hail storm that wiped out most of my garden!

So I decided to make sour cherry clafoutis, my favorite summer dessert, using Martha Stewart’s recipe. If you like butter and eggs and sugar and sour cherries (who doesn’t?!), you will love this recipe.

Sour Cherry Clafoutis

Here are a few notes on the recipe:

– I kind of fail at making traditional pie crusts, but this recipe works for me because of the egg yolk which keeps the crust from crumbling and making a terrible mess. It will crumble a bit, but you can stick it back together. And if you use tart pans that don’t require you to make fancy pie edging like I do, your tart will look great.
– It is a really simple recipe but you do need a little planning ahead since the dough needs to be refrigerated for at least an hour before you bake it. I usually make the dough either the day before or else as soon as I get home from work in the afternoon (if I’ve remembered to bring the butter to room temperature beforehand).
– The only thing that sucks about this recipe is having to pit the cherries. I have this cherry pitter from Lee Valley which seems to work pretty well, but if you’re pitting a lot of cherries at once, I recommend you do it outside because things will look like a murder scene when you’re finished.
– I’m pretty sure this recipe would work for other fruit and berries. Specially, I’m thinking raspberries or plums.

I’ve learned recently that the newer sour cherry varieties are bred to be sweeter than traditional sour cherries, which would explain why I wasn’t really crazy about sour cherries up until the last few years. I’ve also pruned my cherry bushes to be more tree-like and this has been great so far. I’m always really hesitant to planting trees in my back yard because it is such a small space, but the cherry trees will probably be no bigger than 7 or 8 feet when fully mature, so they are really perfect for my space.

I’m going to use the remaining cherries for sour cherry lemonade, or perhaps a boozy drink with gin. But I would love to hear about any recipes you’ve had success with!

What I’m Cooking: Meringue Dream Cake

I love to cook. If you know me at all, you definitely know this about me. What you may not know about me is that I have a very large collection of cookbooks (I dream about the day I will have somewhere to store them all in the same place). And you may also not know that I have a mildly out of control obsession with Pinterest. Put all of that together, and I constantly have a unbelievably long list of recipes I want to cook. I like to come up with my own version of classic recipes, like pumpkin pie or boeuf bourguignon, but I also really enjoy making others recipes as they were meant to be made. So with all of that said, I thought it would be nice to start a new series called What I’m Cooking, where I will write about a recipe I found somewhere and my experiences with it (successes, failures, challenges, etc).

The first recipe was roasted potato & bacon salad, but I didn’t really talk much about the series… so I’m going to pretend that this is the real first official post in the series and hopefully you can all pretend along with me! So, the first feature is the Meringue Dream Cake by Sweetapolita. I actually first saw this cake pop up on Sweetapolita’s instagram feed – the next minute I was on Pinterest adding it to my own board. I usually just add cakes to my Pinterest because they are baking porn to me. And I’m often delusional thinking I’m going to actually bake them. But this cake was somehow different – the timing on that post couldn’t have been better because earlier that day my brother had asked me if I would be willing to bake a cake for his girlfriend’s birthday in a few weeks. I guess he caught me at a moment of weakness because I agreed. Normally when it comes to making something in the kitchen, I’m all over it. But baking a cake, or just baking in general, is another story. I am not much of a baker. It’s not that I’m bad at it, it’s that I prefer to cook. Regardless, I couldn’t back out of making a cake. When my brother proposed the idea, I actually had a different cake in mind that I have been wanting to try out for awhile – it’s a dark chocolate salted caramel cake from The Duchess Bakeshop cookbook (don’t worry, I will still make it, just another time). But as soon as I saw the Dream Cake, I knew that was the cake I needed to make. I sent the recipe to my brother and he immediately replied “YES!”.

Meringue Dream Cake

I made the cake over a few days – the baked meringues two days early, the cake and chocolate glaze the day before, then on the day of serving I made the meringue frosting and assembled the cake. All of the steps were really simple and I’m very glad I spread the process out over a few days.

Meringue Dream Cake

Here are my overall thoughts on this recipe:
– You might be put off when you first look at the recipe and see all the different steps, but almost everything except the frosting can be done a few days ahead like what I did. It is a time consuming cake, but it was worth it for a special occasion.
– I did use food coloring powder as recommended and found it online at Golda’s Kitchen (based out of Canada but they ship to the US as well). I had a bit of trouble with the coloring because since I am not much of a baker, I haven’t had to color anything since the time my sister and I made green pancakes for our Dad when we were younger. The blue was actually perfect, but the green turned out much more pastel than I wanted (I was going for emerald). I don’t blame the coloring, I’m blaming my lack of experience.
– If you don’t have all the ingredients on hand, it can be a pricey cake. I purchased food coloring powder, edible glitter, lots of eggs (the recipe uses 16 in total!), buttermilk, a round cake pan (I did not own one prior to this – tells you how much I bake), and frosting tips. You don’t need to purchase all of these things to make the cake (specifically the coloring and glitter), but since it was for a birthday, and for a person who loves color, I wanted to make sure it was extra special.
– I don’t know much about cake baking. I know that there is this whole big world of cake baking that exists that I am totally ignorant to. So when I discovered that lining the bottom of your cake pan with parchment paper to prevent the cake from sticking is a thing, I slapped my hand to my forehead. Of course, how brilliant!
– I was mostly worried about piping the meringues and them looking like hell, but it was surprisingly easy. My only issue was that I don’t think my mixture was firm enough because the meringues quickly lost their shape. They didn’t look horrible, but they could have been much better. I’ll take it as a baking lesson I suppose.
– Almost half of my larger meringues cracked while baking. I read up on this afterwards and it looks like I wasn’t using the freshest eggs, which is what can cause cracking. Also, I could have baked my meringues too long and I should have turned off the oven and let them gradually cool before taking them out. Apparently meringues are very finicky. It’s not a big deal, I used the good meringues for decorating and the cracked ones got crushed up for the cake layers or eaten on their own – they still tasted amazing.
– You’ll have a lot of egg yolks left over so you’ll want to make Martha Stewart’s Bittersweet Chocolate Mousse (it is really easy & quick to make. And also so good).

So would I recommend this recipe to others? Yes, especially if it is a special occasion. It doesn’t require a lot of decorating skill, which is good, and all of the steps are very easy and straight forward. Not to mention, this cake tastes amazing.

What I’m Cooking: Roasted Potato & Bacon Salad

I don’t know about you, but I’m one of those people that cringes every time I see a cold potato salad drowning in mayo. I get dry heaves just thinking about the smell and the texture and biting down on to one of those barely cooked crunchy onions. Just nasty. I’ve hated potato salad ever since I was a kid. I used to be a picky eater, and I ended up getting rid of most of my food qualms as an adult, but it just never happened with potato salad. That is until a few years ago when I came across a recipe for roasted potato salad, sans mayo. And then everything changed. No longer was I a hater of potato salad, but a true advocate for it. More specifically, this potato salad.

I still hate the cold mayo-based potato salad, so don’t think I’ve completely changed. But the roasted potato salad is something I can really get behind – it is truly delicious. I pull it out for most potlucks and every single time I get excited responses “What is this? It’s so good! Can I have the recipe?”. How can you possibly go wrong with roasted potatoes, bacon, and capers?

Roasted Potato and Bacon Salad

This recipe is from Michael Smith, a Canadian chef who has authored various cookbooks and who has had a few cooking programs on television (I first discovered him through watching his old show Chef At Home back when we still had cable in our house). All of his recipes are always very simple and he also encourages home cooks to put their own spin on the recipes, often times leaving measurements open to interpretation (in a good way!). The thing I love most about this potato salad recipe is that it is a very simple recipe and requires very few ingredients. I’ve included the recipe below written in my own words, but it is almost identical to the original recipe, so don’t give me any credit here, except credit for introducing this wonderful recipe in to your life (you’re welcome).

Roasted Potato & Bacon Salad (original recipe via Chef Michael Smith)

Ingredients:
– 1 bag of new potatoes, washed and sliced in half
– 6-8 slices of bacon, cut in to bits
– Black pepper
– Italian parsley (it is fine to use curly parsley as well – whatever is available to you) – washed, dried, and stems removed
– Capers (a few heaping tablespoons – I love these salty little gems so I usually dump a lot in)
– Heaping tablespoon of grainy mustard, but dijon also works.
– A splash of red wine vinegar

Directions:
– Preheat your oven to 400 degrees.
– Fry the bacon until it is barely cooked.
– Throw the potatoes in a roasting pan and toss with the bacon bits, some of the bacon grease, and pepper (the original Michael Smith recipe calls for salt as well, but I find there is enough between the bacon and capers, so I omit this – but I love cracked black pepper, so I add lots of that). Roast the potatoes and bacon for about 25-30 minutes, tossing half way through.
– In the meantime, throw your prepared parsley and capers in a large salad bowl. In a small bowl, whisk together the mustard and vinegar, tasting it to ensure you like the ratio. I like more mustard than vinegar, but it is up to you. The dressing will be really tart but the flavors will be balanced once everything else is added in.
– When your potatoes are ready, allow them to cool a bit (I like them still warm on my salad so I don’t wait very long. Plus I have no patience and this salad is delicious so I don’t want to wait for it). When the potatoes are cooled enough for you, throw them in the salad bowl with the parsley and capers, add the dressing, and toss until everything is evenly coated. Enjoy!

What I’m Cooking is a new series where I will feature recipes that are not my original recipes, but that are my experiments with other people’s recipes.

Julia Child’s Boeuf Bourguignon The Simple Way

I remember the first time I saw Julia Child’s famous boeuf bourguignon recipe – it seemed daunting. I’m not usually one to take on complicated recipes, although I do appreciate them knowing that the end results are almost always worth it. Actually, I wouldn’t say that Julia’s recipe is particularly complicated, but it is pretty elaborate and I don’t usually have the sort of time to commit to an elaborate recipe, and I don’t know a lot of people that do. So after some experimenting, I have come up with a very simple version that will give you just as good of results – as Julia says in her book Mastering The Art of French Cooking “there are more ways than one to arrive at a good boeuf bourguignon. Carefully done, and perfectly flavored, it is certainly one of the most delicious beef dishes concocted by man”. For the below recipe, cooking time is several hours, but the actual commitment is about an hour, including prep, browning the meat, checking the pot in the oven a few minutes each hour, and clean-up time. Trust me, it is a piece of cake!

First of all, the original recipe calls for bacon chunk, which is something you have to ask for from your butcher – we get our bacon from a pork grower at the farmer’s market that does not keep this on hand at the market, but will bring it in specially if you ask – but again, who has time for that? You would have to be the kind of person that plans their meals weeks in advance – and that just doesn’t happen with me. So I used regular bacon slices instead.

Second, I don’t know what cut of beef I actually used for this recipe. The truth is, I had a few roasts in my freezer that were unlabeled that came from my family’s farm. It doesn’t really matter (I know, gasp!) – you’ll be cooking it for several hours and it will fall apart in your mouth when it’s ready – it will be amazing. Go ahead and get the cheaper cut – it should be fairly lean though as there is already lots of fat in the bacon. My roast was probably about 5lbs and I just cut it up into about 1 1/2 – 2 inch cubes.

Third, Julia’s original recipe does not have a lot of vegetables in it. It has an onion, one carrot, mushrooms and a bunch of pearl onions. I omitted the mushrooms, but I did add several more carrots and some new potatoes. Julia’s original recipe cooks the mushrooms and pearl onions separately in an herb broth, but I didn’t want to dirty more dishes, so my vegetables just got thrown in to the pot for the last hour of cooking. She also suggests serving boiled potatoes with the dish, but I figured the potatoes would retain more of their nutritional value if I just threw them in with the beef.

I would suggest using a large cast iron dutch oven for this recipe. You’ll need a pot that you can transfer from the oven to the stove and back to the oven – the pot needs to be able to regulate heat well and I’ve found that cast iron is the best material for this purpose.

IMG_3702

Simple Boeuf Bourguignon

Ingredients
– 8 slices of bacon
– 4-5 pounds of lean stewing beef, cut into 1 1/2 – 2 inch cubes
– 1 onion, chopped
– Ground black pepper
– 2 tbsp all-purpose flour
– 1 bottle of red wine (I used a bottle of the store-brand reserve red wine, it was very inexpensive but also was pretty good quality. Don’t spend a ton of money on a bottle of wine, but make sure you get something that is at least drinkable on its own)
– 3-4 cups of beef stock
– 1 tbsp tomato paste (did you know that instead of buying cans of tomato paste, you can buy tomato paste concentrate in tubes that store in the fridge and last for several months?! This was a life-altering discovery for me)
– 2-3 cloves of garlic, smashed with the side of a knife (add more if you’re a garlic nut like I am)
– A few sprigs of fresh thyme (you’ll also need fresh thyme for your herb bouquet below)
– 1 large bay leaf
– 3-4 carrots, peeled and cut in to 1 inch lengths
– 15-20 whole new potatoes, washed
– 20 pearl onions, skins removed
– Fresh herb bouquet (parsley, thyme, rosemary, sage) – you can tie it with baker’s twine or in cheesecloth.

Instructions
– In a large cast iron dutch oven, fry your bacon on medium heat until it is slightly cooked and the greases have been released (you’ll be browning your beef in this afterwards). Remove the bacon from the pan and set it aside on a plate.

– Dry your beef very well on paper towels – beef does not brown properly if it is wet. Brown a few pieces of the beef at a time in the bacon grease on medium heat – do not overcrowd the beef while it browns! It took me three batches to brown my beef so be very patient, this is one of the most important steps. Put the browned beef aside with the bacon.

– Preheat oven to 450 degrees.

– Cook the chopped yellow onion in the remaining grease and then turn off the stove for now.

– Add the beef and bacon to the onion in the dutch oven. Coat everything with pepper and 2 tbsp of flour (you do not need to add salt – I find that there is enough salt between the bacon and beef broth). Put the pot (uncovered) in the preheated oven for 4 minutes. Take the pot out, stir everything and put it back in the oven for another 4 minutes. This creates a nice crust on everything. Remove the pot from the oven and turn the oven down to 325 degrees.

– On the stove top, pour beef stock and red wine (equal amounts of each – reserve the remaining for later) over the beef until it is just barely covered – stir in the garlic, thyme, bay leaf, and tomato paste. Bring the pot to a simmer.

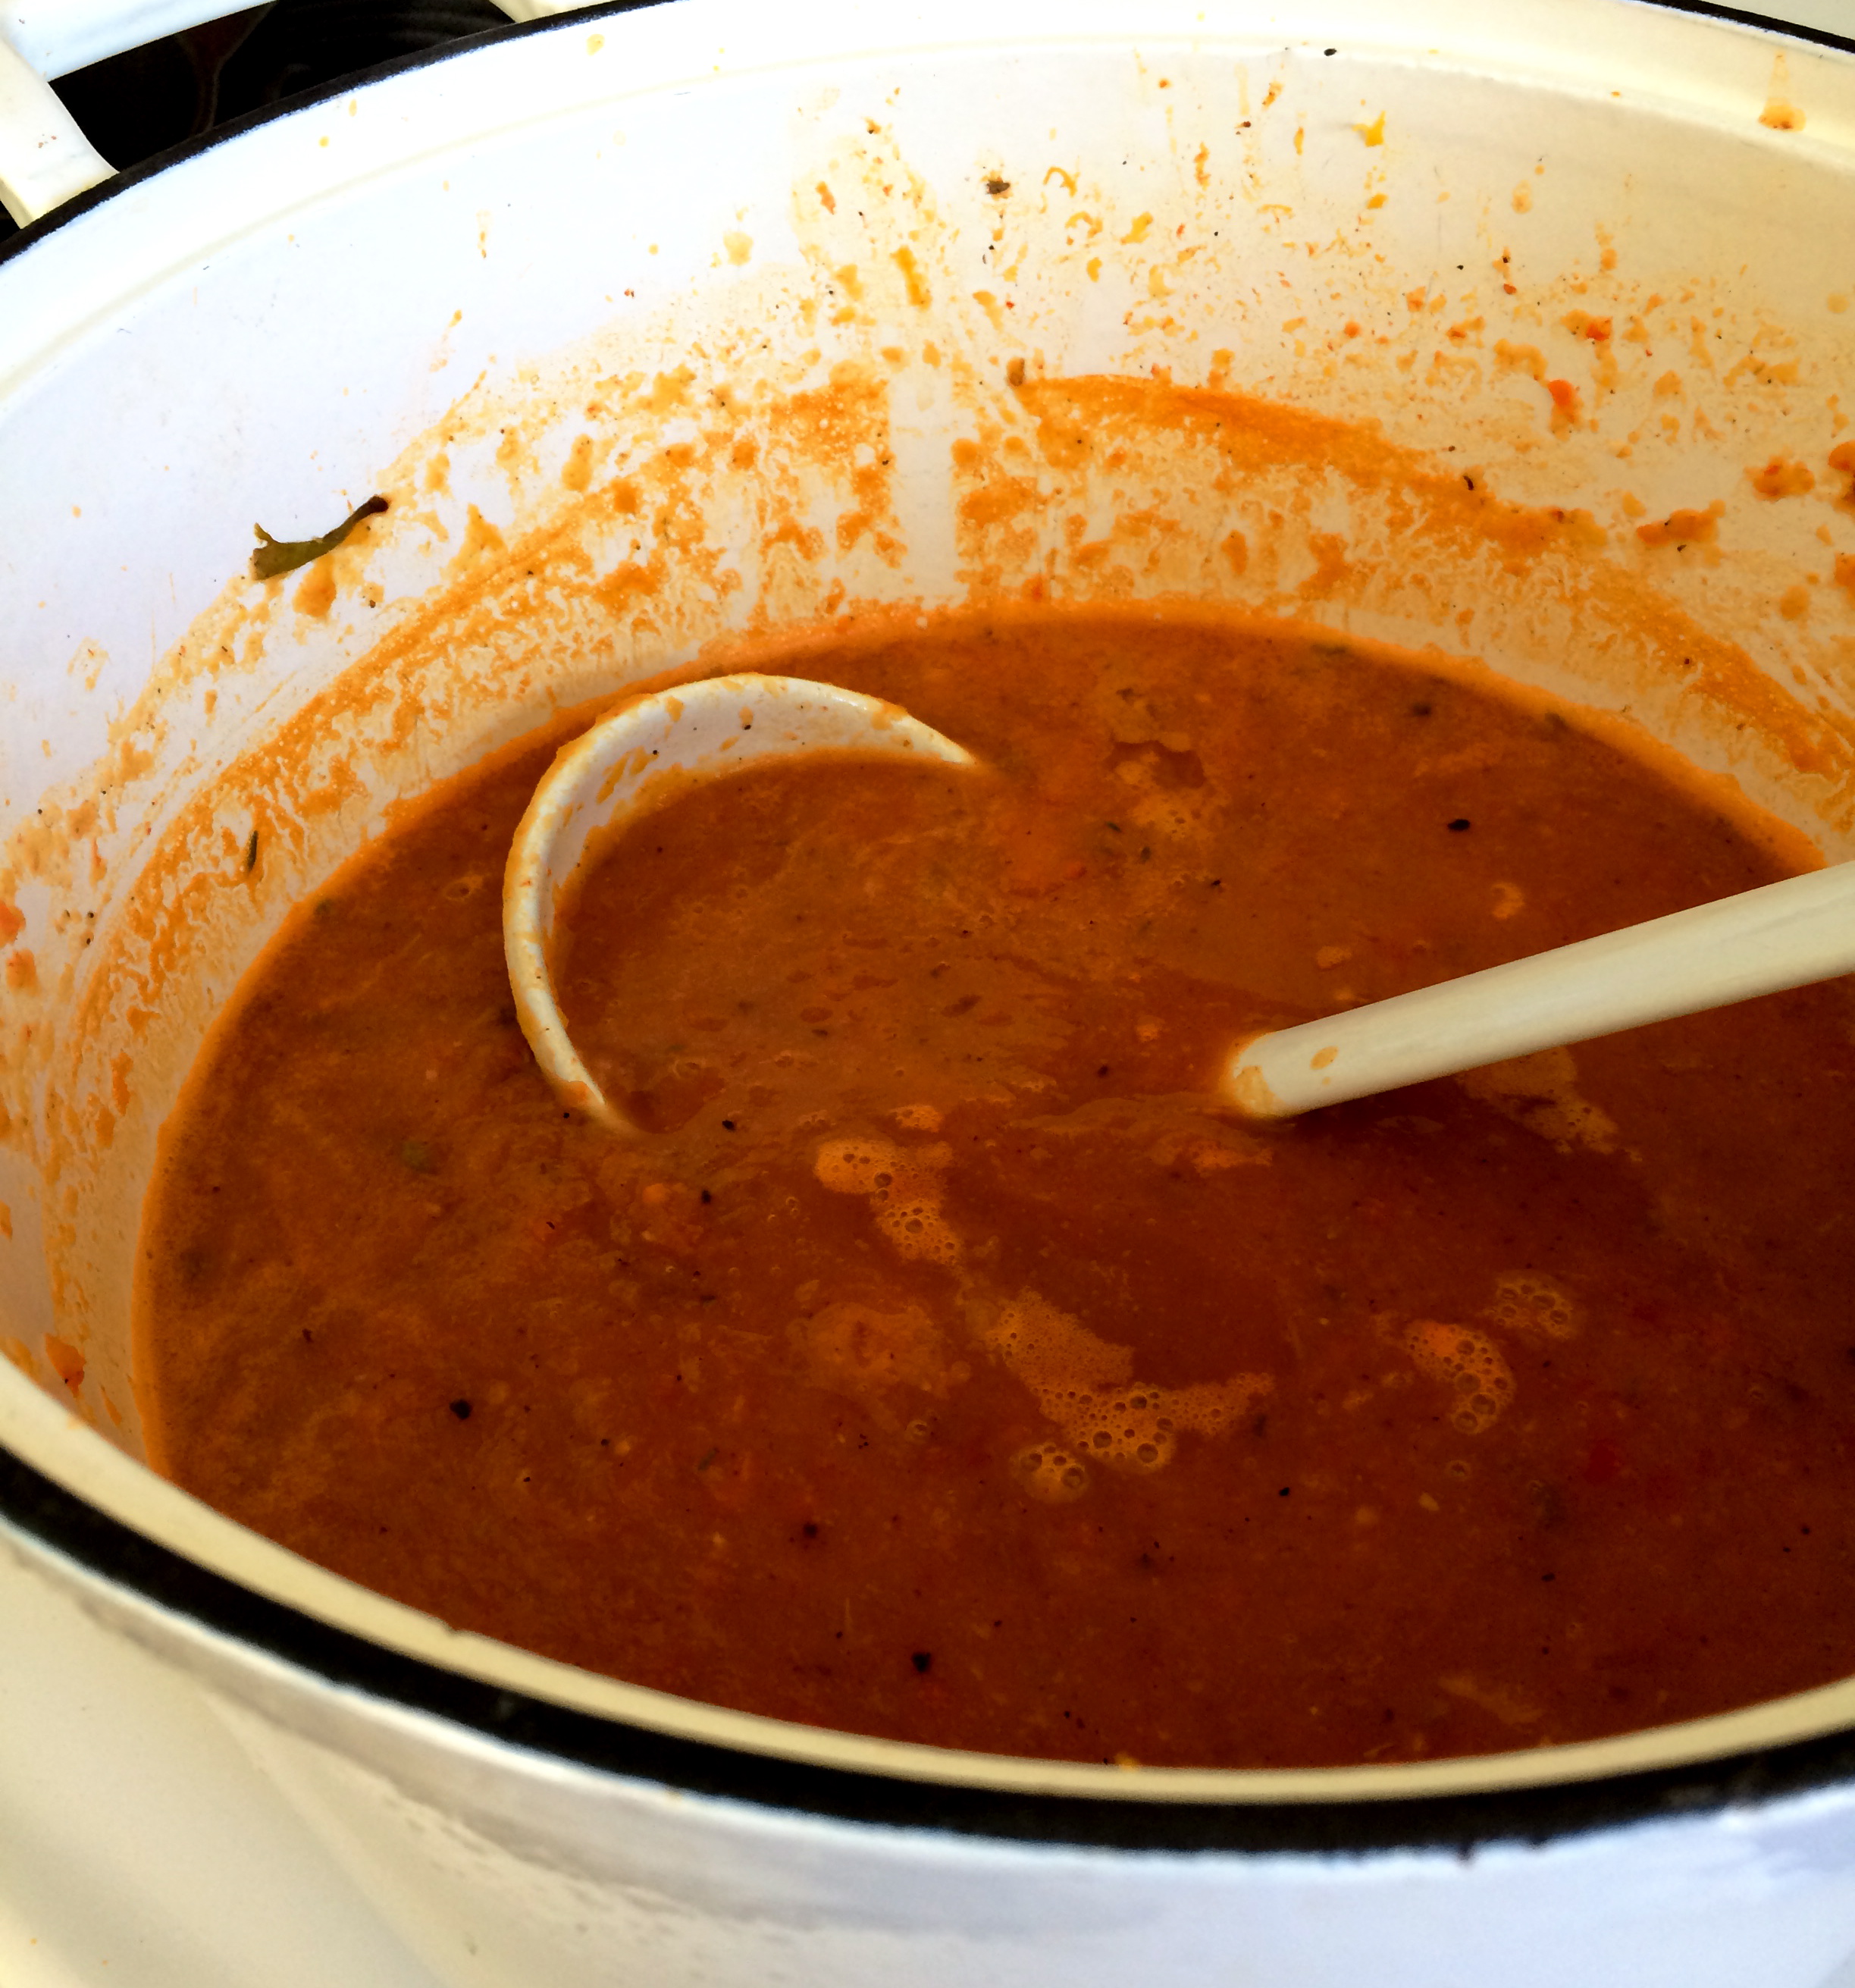
– Put the pot (covered) back in to the oven and check it about every hour until finished (it is about 3-4 hours for me). Be careful that the liquid does not evaporate completely! It will reduce quite a bit while cooking, but you can add additional wine and stock – the liquid should be thick at the end. The beef is ready when it easily comes apart with a fork – it should actually just fall apart from being so tender. Your beef will be tough for quite a while during the cooking time but it will eventually take a turn for the better and become really, really tender – this is what all the time was for. About an hour before your beef is ready, you’ll want to add in the new potatoes, carrots, pearl onions, and herb bouquet. You’re probably asking how you’ll know when this time comes – you know when your beef starts to become easier to stab with a fork (prior to this point it was probably very tough). Add the vegetables and possibly a little bit of stock (don’t add too much – the vegetables do not need to be submerged, they will cook from the steam and heat in the dutch oven). After the last hour is complete and you’ve taken the pot out of the oven, remove and discard the herb bouquet and bay leaf from before.

I usually serve my stew with these parmesan thyme buns from Sweet Paul – they are very simple to make. The dough takes about an hour to rise and once your beef comes out of the oven, just turn the temperature up and shape your buns while the oven is heating. The buns take about 15 minutes to bake.

IMG_3711

That’s it! Very simple and not daunting at all. Enjoy!

I found a PDF online of Julia’s original recipe which also includes some recommended beef cuts.

Roasted Butternut Squash & Bacon Soup

I was having tea with a friend the other day and we got on the topic of food. This of course was not an usual topic of conversation for us – we both share a huge love of cooking and eating. Then she mentioned butternut squash soup and told me that the key to a really great squash soup is to roast all of the vegetables first. Roasting them enhances the flavor and makes an overall better soup.

I’d been on the lookout for a good squash soup recipe after a few failed attempts. I love squash and I love soup, but I’ve never really found a squash soup recipe that I’ve been crazy about. For the most part, squash soup is pretty bland and unremarkable. So after the squash soup chat with my friend, I figured I would come home and do some research and then come up with my own recipe, which would hopefully be good enough to share with you here. Luckily my experimenting paid off and I came up with a really delicious butternut squash soup.

My friend was right, the key was to roast the vegetables first. I decided to roast a whole butternut squash (mine was medium-sized), a whole sweet potato, 3 medium sized carrots, one whole yellow onion, two large cloves of garlic (I still have tons of garden grown garlic in storage), and one whole red pepper. Most recipes I found only called for a squash to be roasted, sometimes with an onion and some garlic, but I wanted a really flavorful soup, so I decided somewhere along the way to add the carrots, sweet potato, and red pepper. It was worth it. The other thing that really makes this recipe? Bacon. See below for the full recipe.

IMG_3536

Roasted Butternut Squash & Bacon Soup

Ingredients:
For roasting:
1 whole butternut squash, cut in to quarters (mine was medium sized, but use a whole squash in whatever size you can get)
1 large sweet potato, peeled and cut in to 2 inch cubes
1 whole yellow onion, outer skin removed and cut in to quarters
3 medium or large carrots, peeled and cut in to 2 inch pieces
1 large whole red pepper, stem and seeds removed and cut in to quarters
2-3 large cloves of garlic, outer skin removed
Olive oil
Salt & pepper

For the soup pot:
– 3-4 slices of bacon
– 4 cups chicken broth
– 1 tsp dried thyme leaves
– 1/4 tsp nutmeg powder

For the garnish:
– 3-4 slices of cooked bacon
– Crumbled feta cheese
– Cracked black pepper

Directions:
Preheat the oven to 375 degrees. Toss the prepared vegetables in a roasting pan with olive oil, salt, and pepper. Roast in the preheated oven for about 35-45 minutes, turning halfway through until all vegetables can easily be pierced with a fork. Set aside and let cool until the squash skins can be removed (you can remove the skins before you roast them, but I find it a pain in the ass to peel an uncooked squash, so I leave this step until after roasting).

While the vegetables are roasting, fry all of the 6-8 pieces of bacon in a cast iron skillet. Set aside on paper towels to drain.

In a pot on the stove top, bring the chicken broth, thyme, and nutmeg to a boil. Add in the roasted vegetables and use an immersion blender to puree the soup. Crumble in 1/2 the bacon and let the soup simmer for about 10 minutes.

IMG_3544

Now your soup is ready! Ladle the soup in to bowls and finish it off by crumbling the remaining bacon on top, and then crumbling on some feta cheese and cracked black pepper. Enjoy!

IMG_3539